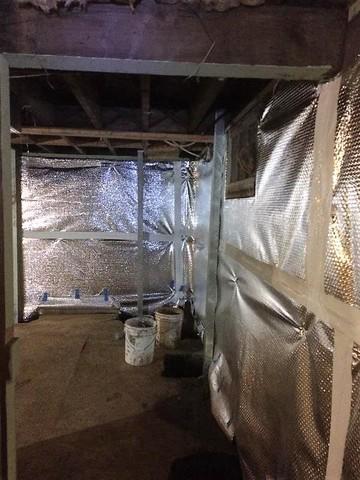
Leveling
Leveling out the placements of the Power Braces

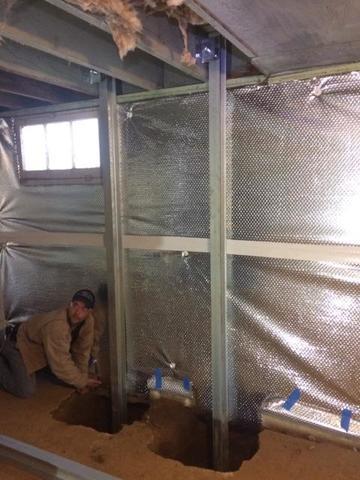
Starting the install
Holes need to be dug out to place the Power Braces in
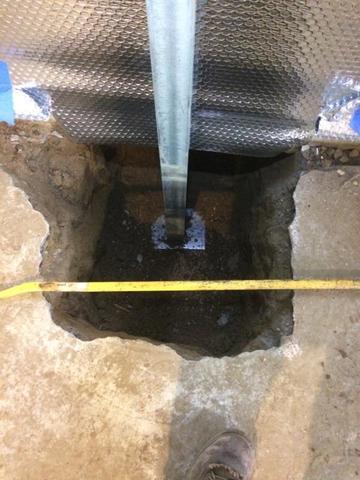
Measurements
We always measure everything in every job.
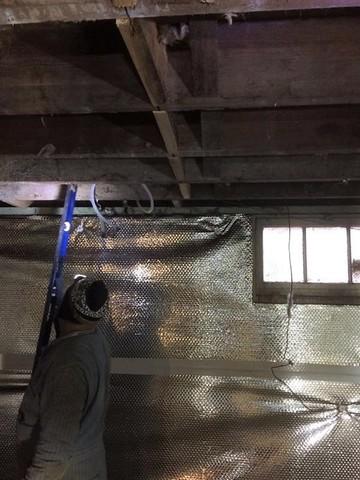
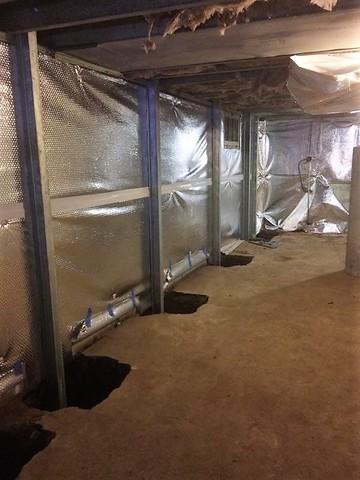
Installing ThermalDry
The customer chose to have us put in the Thermaldry Wall system to help control moisture and keep the basement warm.
Reflective
The Thermaldry Wall System reflects heat and light back into the basement.
Power Braces
Production manager Jake showing everyone how its done!
Power Braces
Placing the power braces in the right locations.
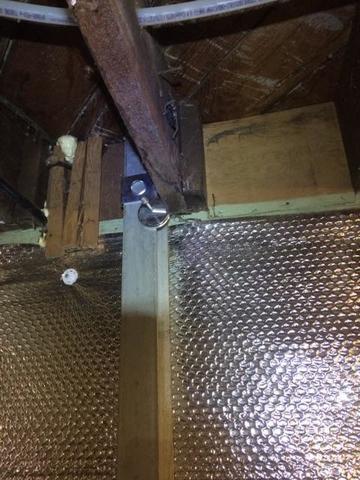
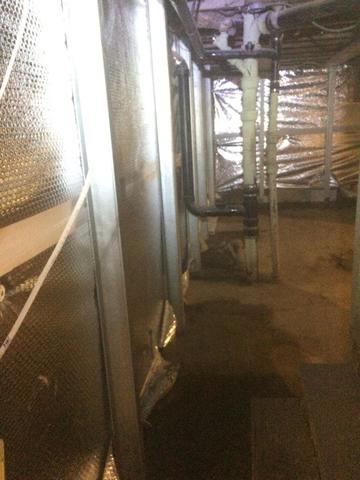
Securing products
the Thermaldry Wall System and Power Braces are both fastened tightly to the home.