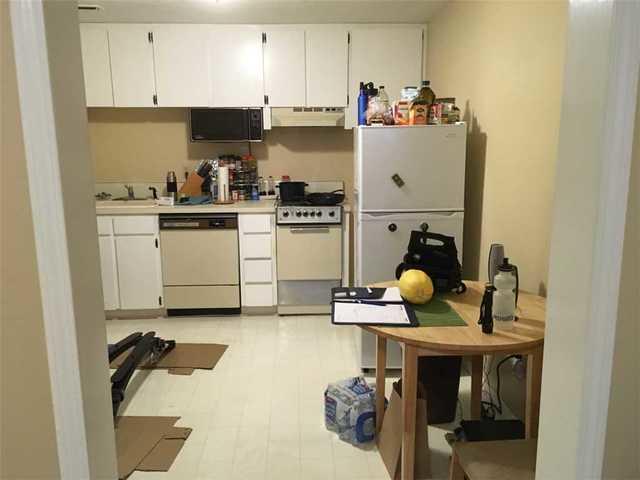
Basement Before Waterproofing
This is what the basement looked like before we began our waterproofing process. Seems ok, right? Maybe, but behind the finished walls is a mess of water intrusion that should have been in place before the basement was finished
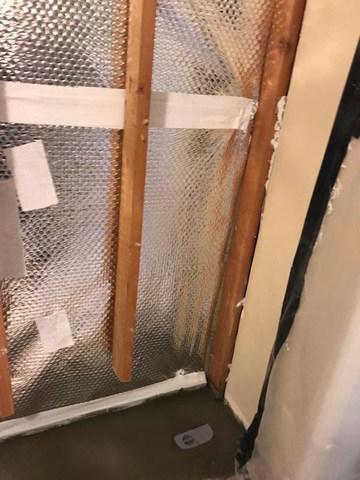
Thermal Dry Insulation
finished photo of Thermal Dry walls working with the Waterguard system to ensure that all wall seepage will not affect the new walls.
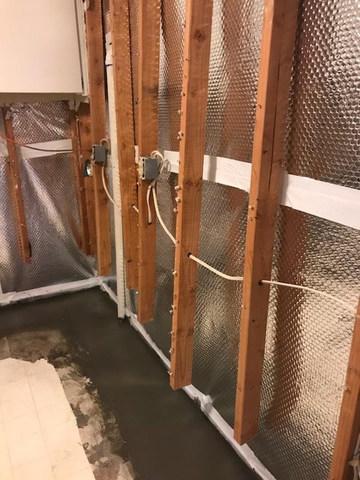
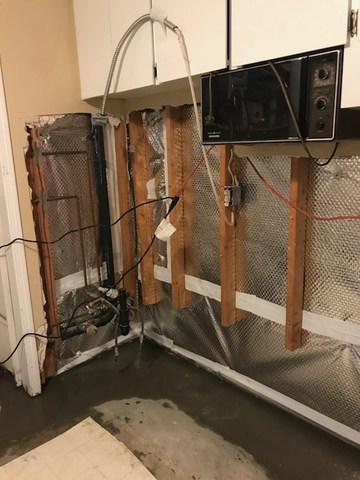
Wall Framing and Thermal Dry
Thermal dry is compatible with wood framing and allows for the basement to be finished again once in place.
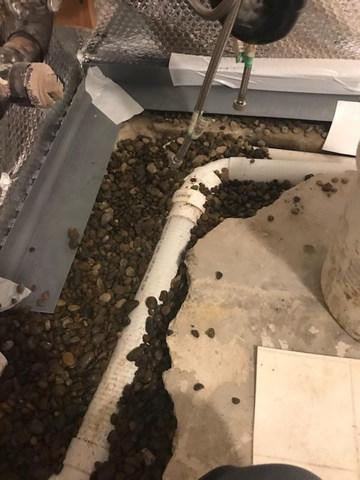
Waterguard and Sump Pump Pipe
corner section of the wall where waterguard is installed and a new pipe for the Super Sump pump
Half Wall Insulation
We insulated half of this basement wall because the homeowner did not want the existing cupboards removed
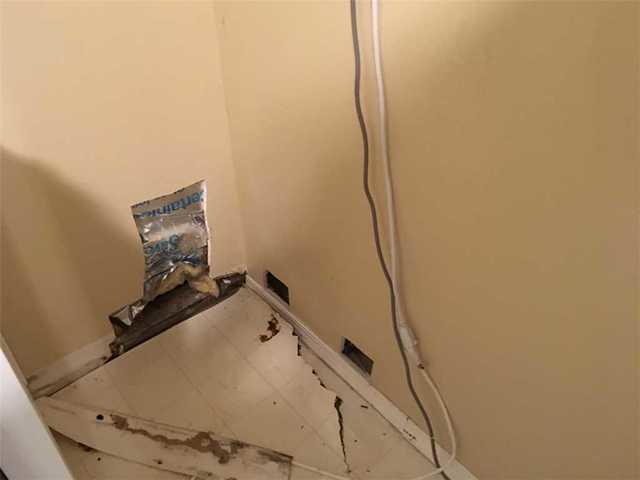
Before Waterguard
Before picture with signs of water under the base boards