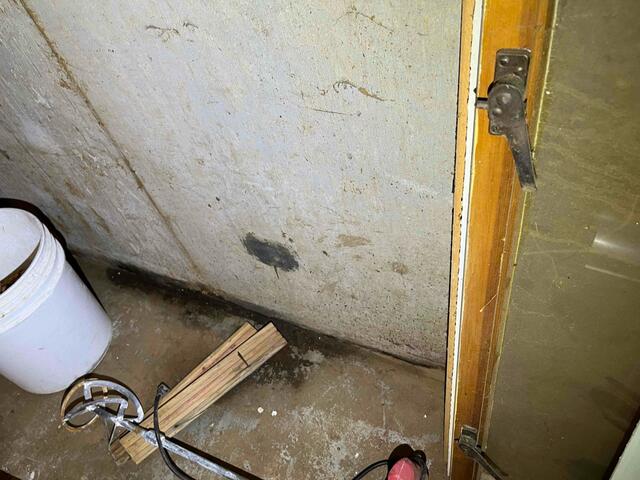
Water Still Evident
When we arrived the flooding had been dried out, but moisture was still evident
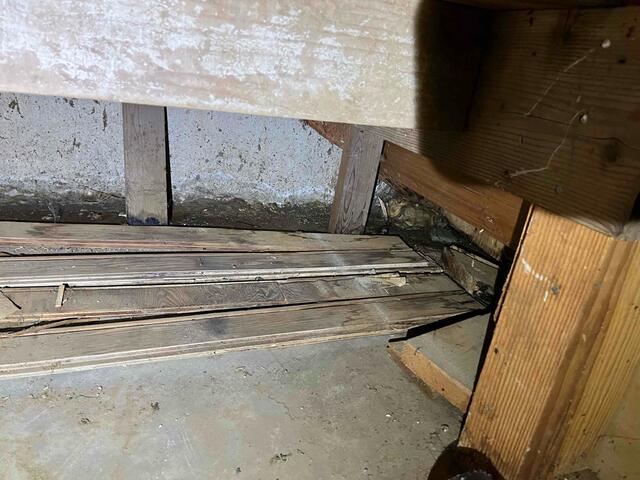
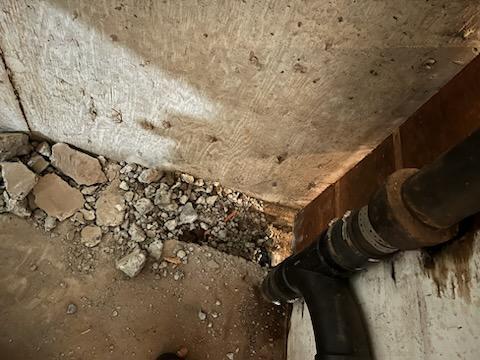
Water Under the Stairs
Moisture and water damage was occurring under the stairway
Installing Drainage - Work in Progress
We installed a full interior WaterGuard drainage system with a TripleSafe sump pump to pump the water out and away from the home
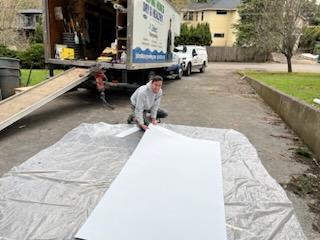
BrightWall Paneling for the Foundation Walls
To ensure water safely travels down the walls to the WaterGuard drainage system we installed BrightWall paneling. These will not mold or rot. They brighten the space, are easy to clean, and provide a semi-finished look
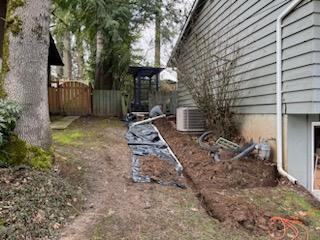
Digging our Trench - Work in Progress
A full perimeter trench is dug out. A bed of gravel will be laid in, WaterGuard installed and then it is all covered with fresh concrete for a smooth floor