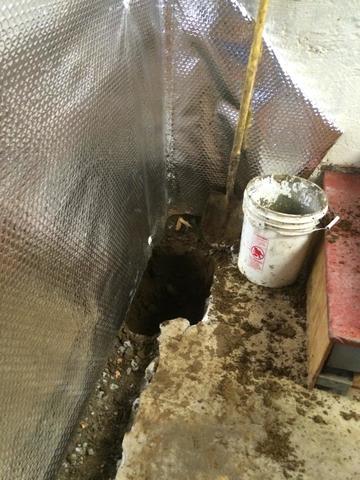
Digging out the holes
The Power braces are put into these deep holes and cemented in to hold them into place.
Digging trenches
The trench is also dug out for the waterguard to be installed in.
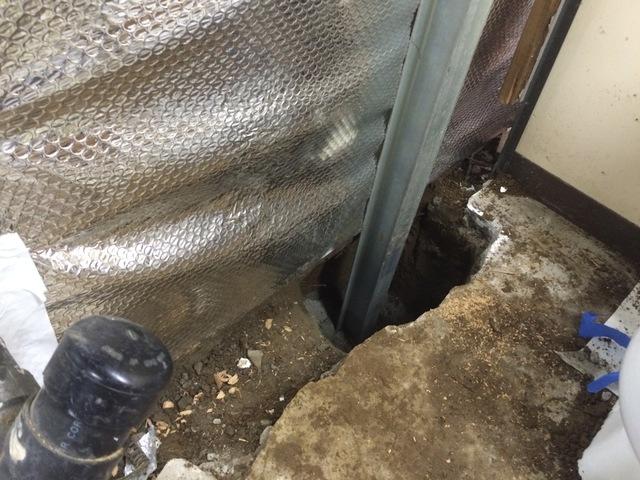
Power Brace
Placing the power brace in the right location
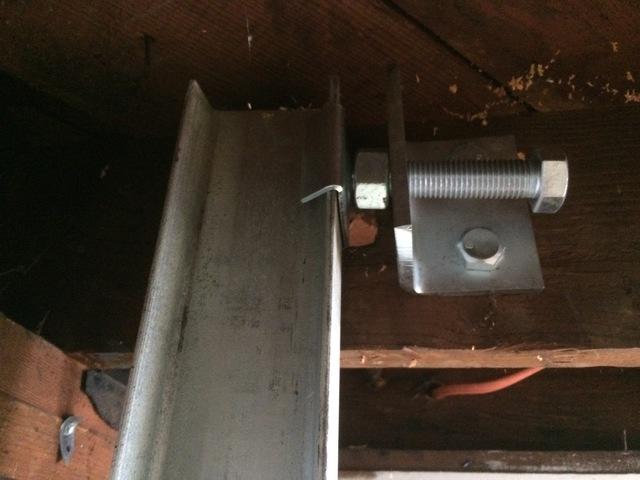
Secureing the top of the posts
They are placed spaced out from each other and secured to the beams to make sure they don't compromise the structure.
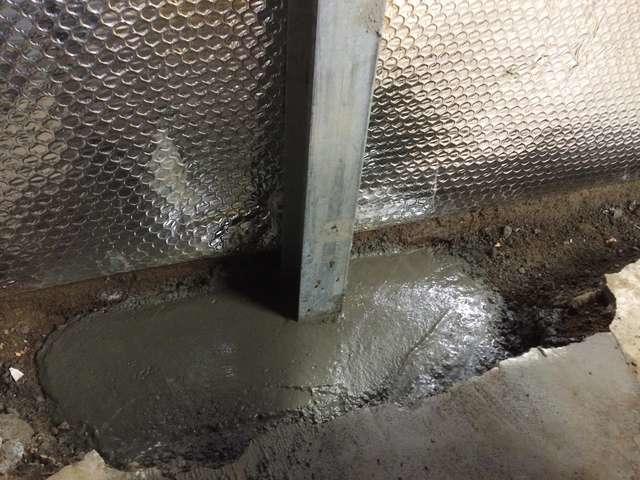
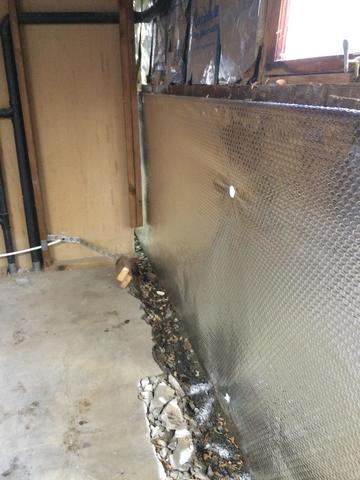
Filling with Cementing
Filling the hole and surrounding the brace with cement.
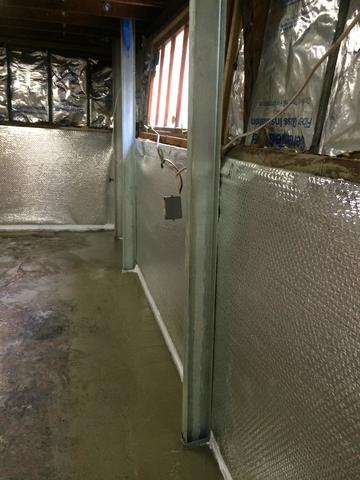
Finished look
The Thermaldry wall, Waterguard and Power braces
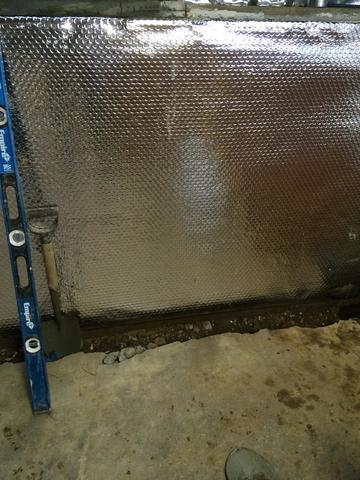
Measuring and leveling
The Crew makes sure the posts are put in correctly.