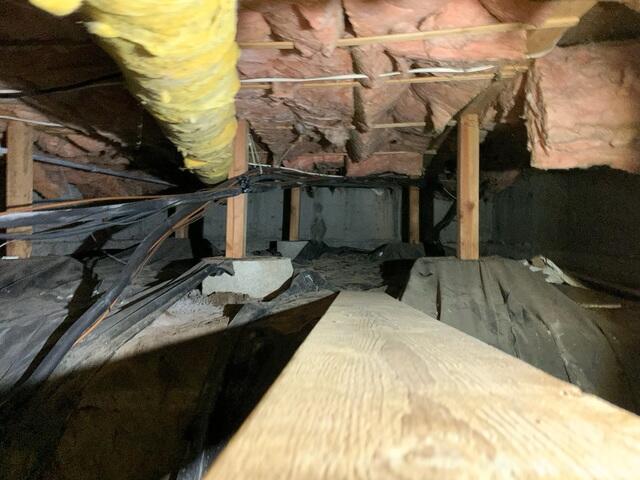
Nasty Crawl Space
The crawl space had the old vapor barrier out of place with exposed dirt. The above insulation was mildewing from absorbing water from the air.

Installing an Encapsulation System
We cleaned out the space and installed drainage, TerraBlock Insulation, and CleanSpace
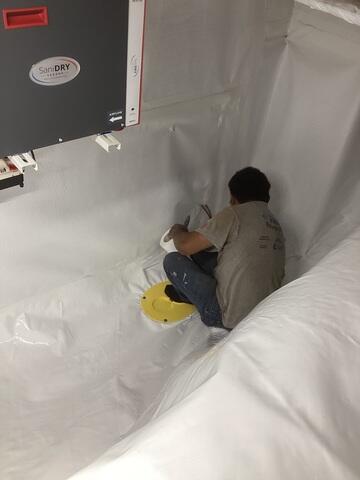
Sealing the Clean Space
CleanSpace goes under every wooden post, anchors and seals along the walls, and every seam is sealed shut with a special four inch wide waterproof tape.
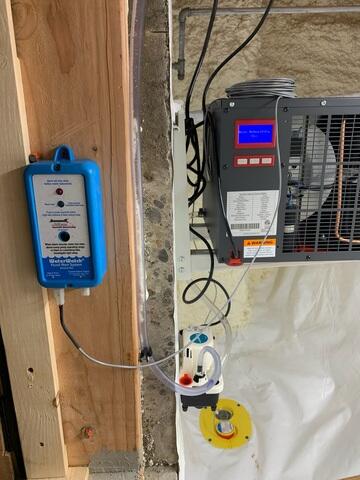
Keeping the Space Dry and Healthy
A SaniDry dehumidifier and Smart Sump will ensure the space remains healthy and mildew can't grow here
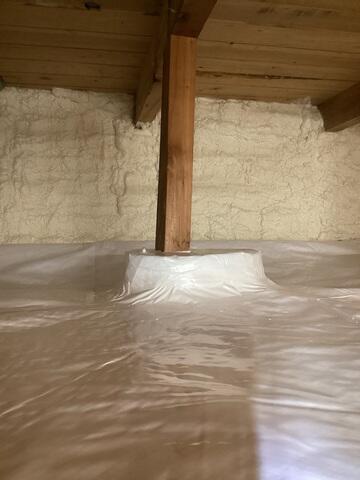
Final Steps for Insulation
We then applied spray foam along the walls to finish insulating the space as well as air sealing.