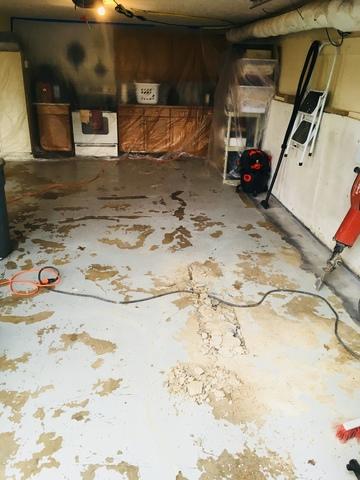
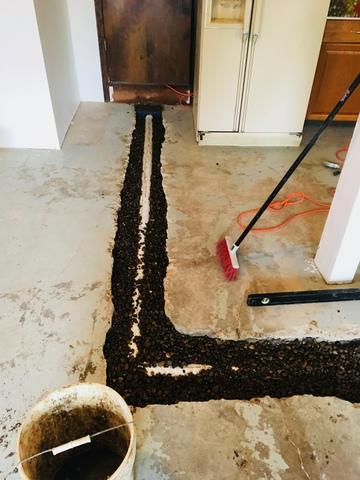
Pre-production
Garage floors before adding the leech lines
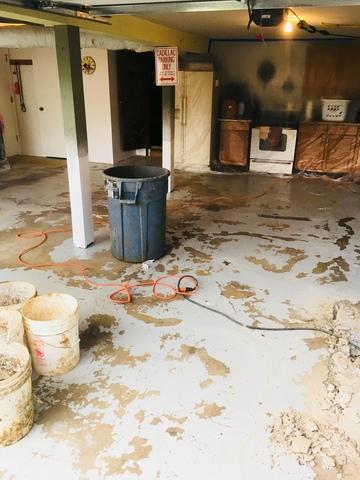
Preparation
The team is prepping for cutting the concrete.
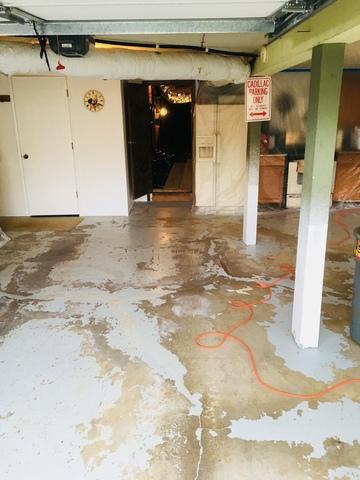
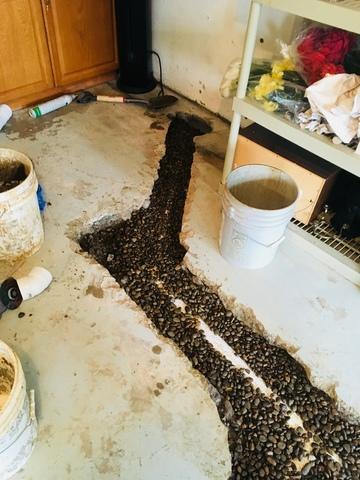
Door Entry to Basement
The door to the basement where leech lines will connect to
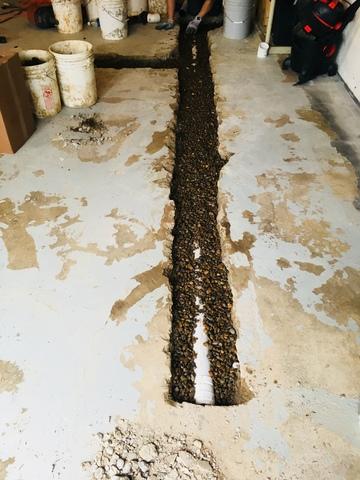
Leech Line
Leech line is filled with rock and concrete once installed
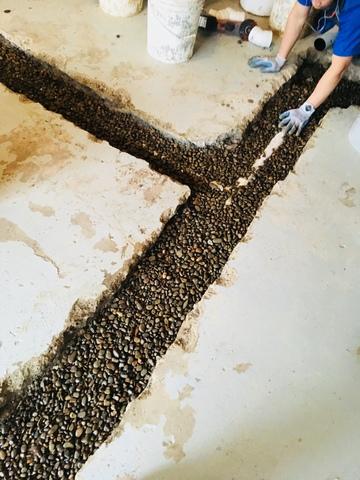
Installing Leech Line
One of our team members securing the leech line
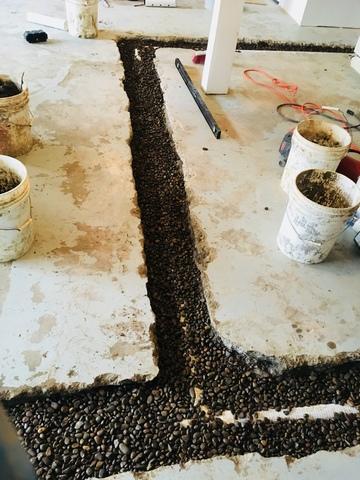
Directing Water
Leech lines channel the water from the basement away from the house
Directing Leech Line
The leech line is installed in certain directions and slopes to ensure that the water will move out
Leech Line to Doorway
This section of leech line is connected to the basement space

Hard at Work
Our team member installing the leech line